Managing Cells
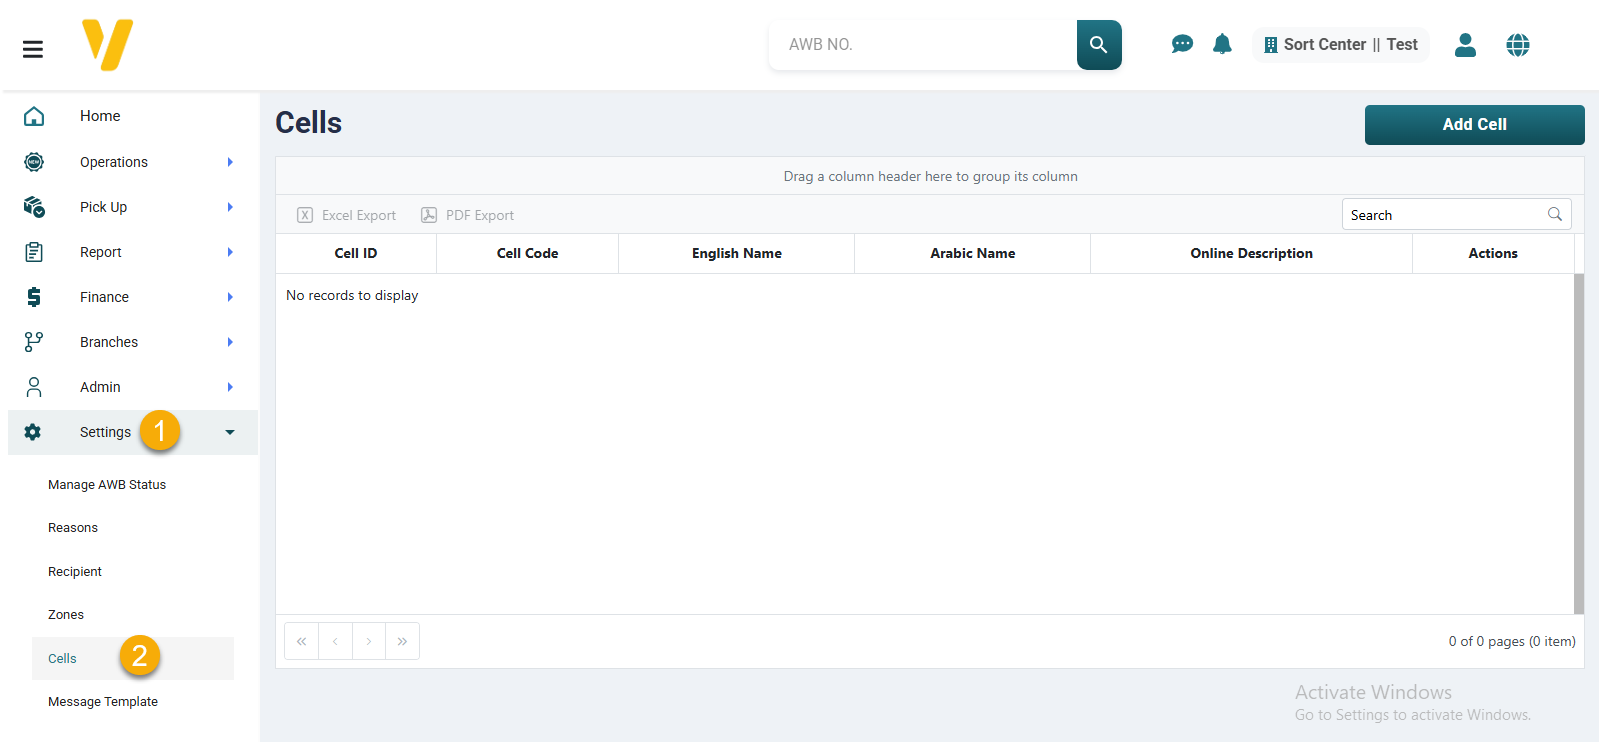
You can manage warehouse cells from the Settings → Cell Management page.
This section shows how to add, edit, and delete a storage cell. These operations help you keep your storage structure organized and always up to date.
➕ Add a New Cell
To create a new storage cell:
- Go to the Cell Management page.
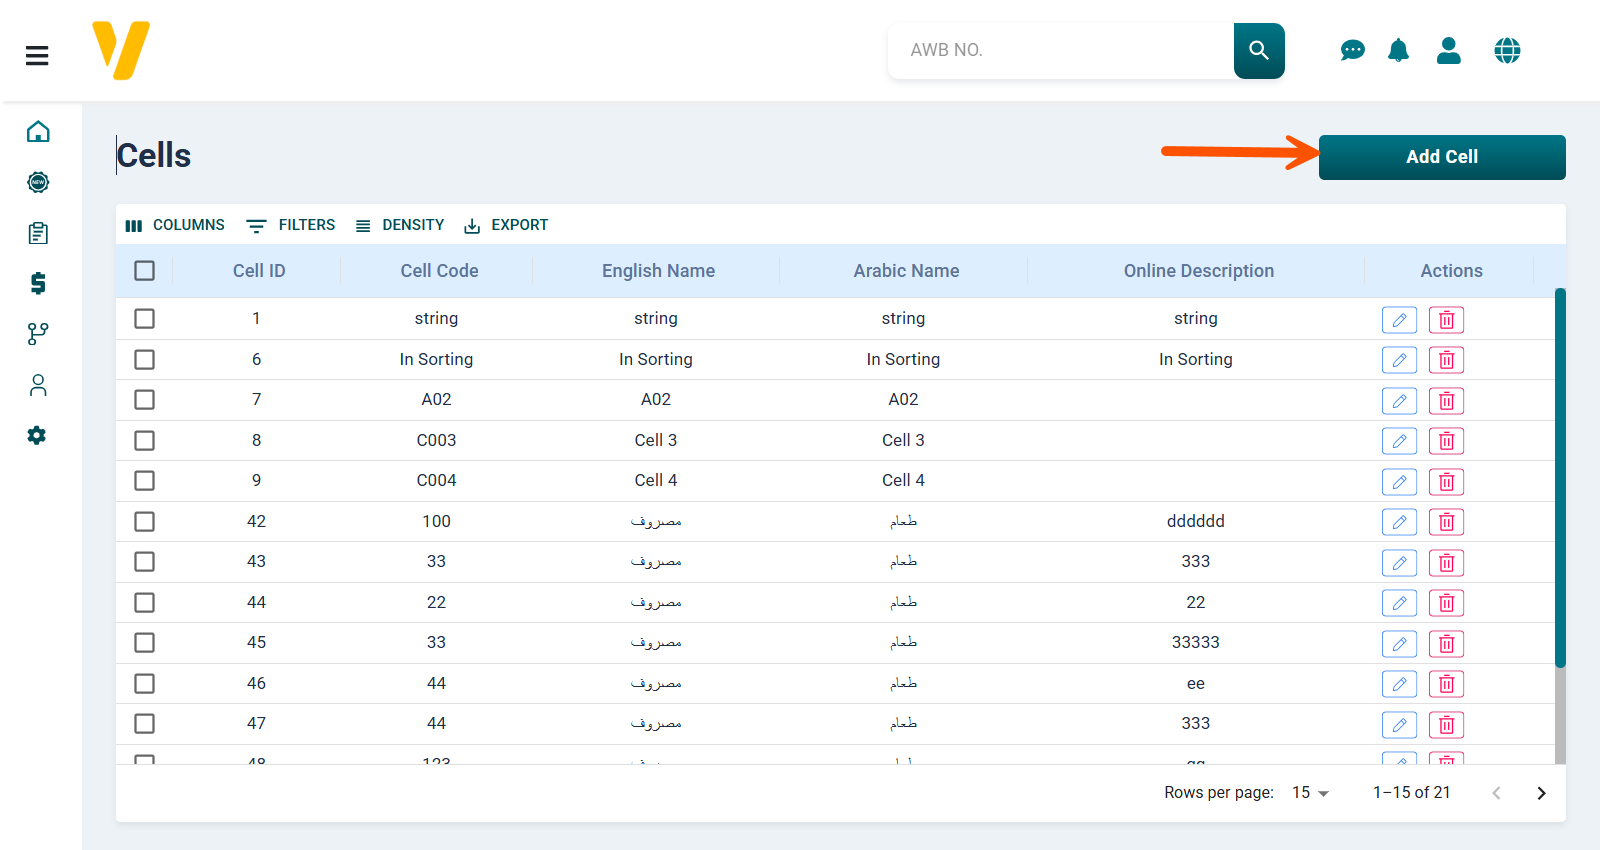
- Click the Add Cell button.
- Fill in the required fields:
- Cell Code
- English Name
- Arabic Name
- Notes
- Click Save to create the cell.
Once saved, the new cell will be available for assigning products and organizing warehouse space.
✏️ Edit an Existing Cell
To edit a cell:
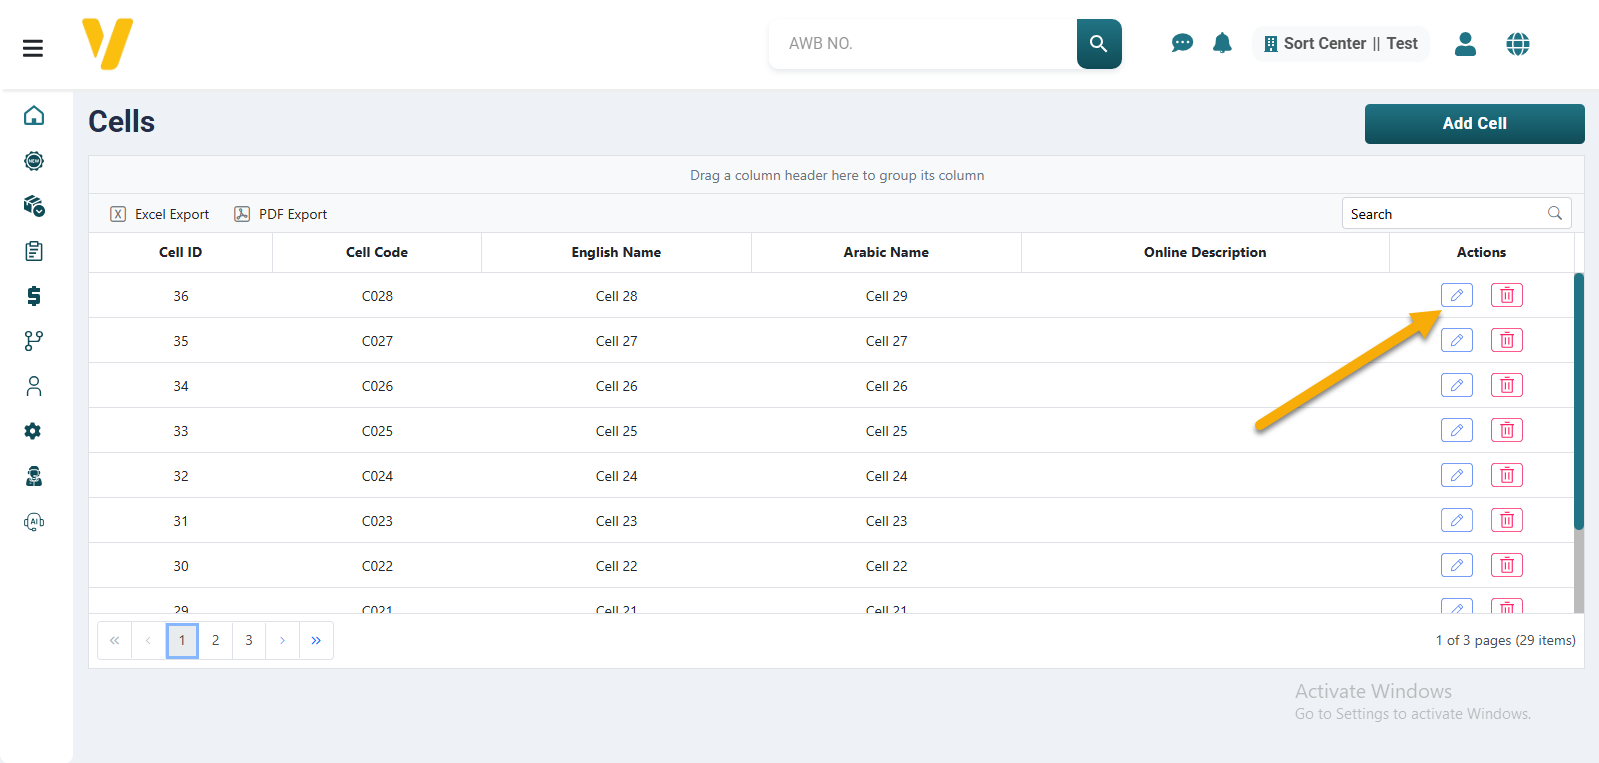
- From the Cell Management table, locate the cell you want to modify.
- Click the ✏️ Edit icon in the Actions column.
- Update the necessary fields such as the name, description, or code.
- Click Save to apply the changes.
🗑️ Delete a Cell
To delete a cell:
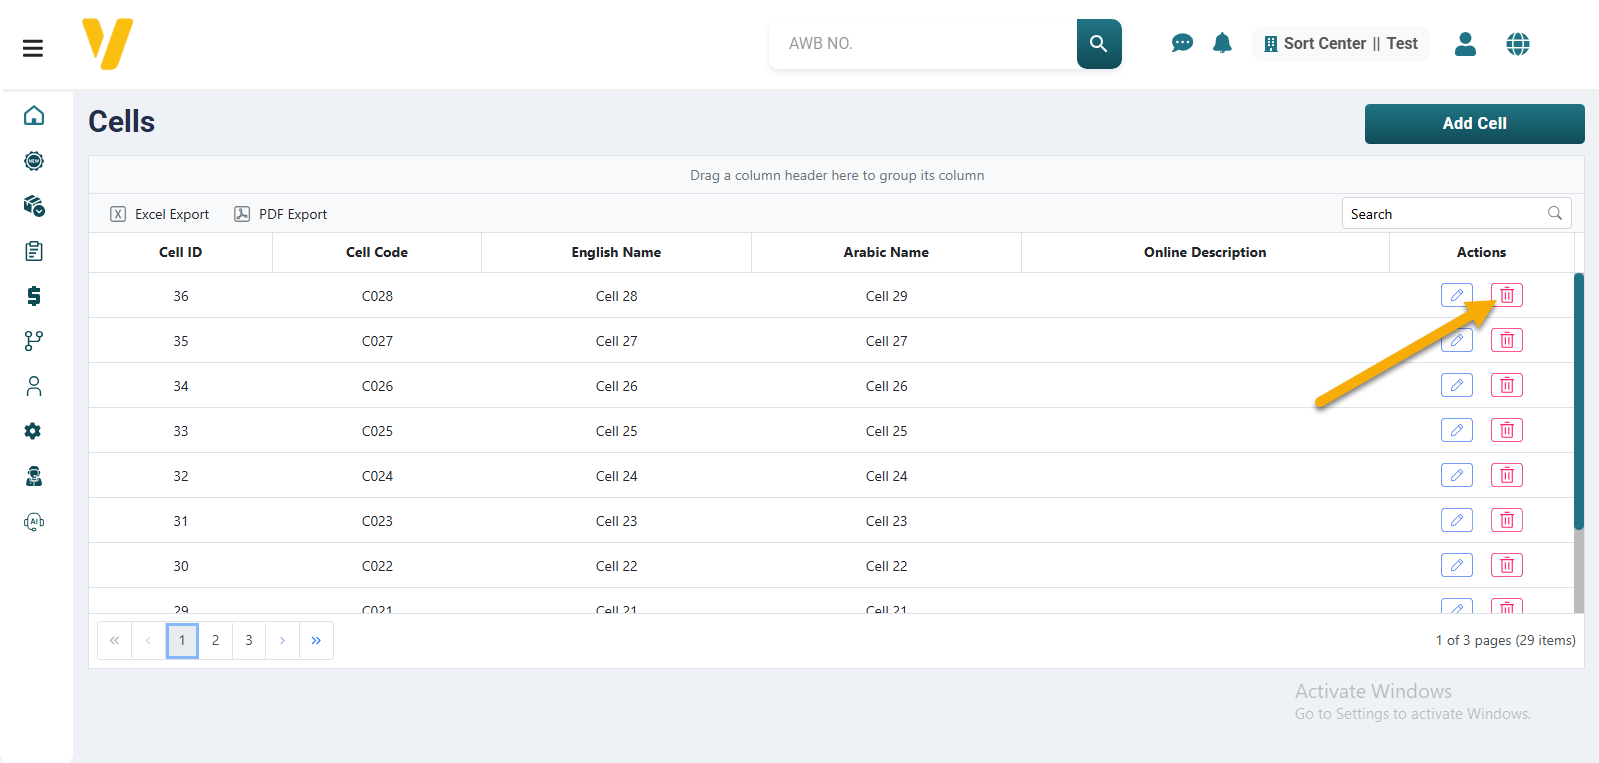
- Find the cell you want to remove in the list.
- Click the 🗑️ Delete icon in the Actions column.
- Confirm the deletion when prompted.
⚠️ Note: You cannot delete a cell that is linked to a product or currently used in warehouse operations. You must first remove its association.