Branches Section
We will now explain the Branches section within the application.
1️⃣ Send Shipments
The Send Shipments feature allows operations staff to transfer shipments from one branch to another.
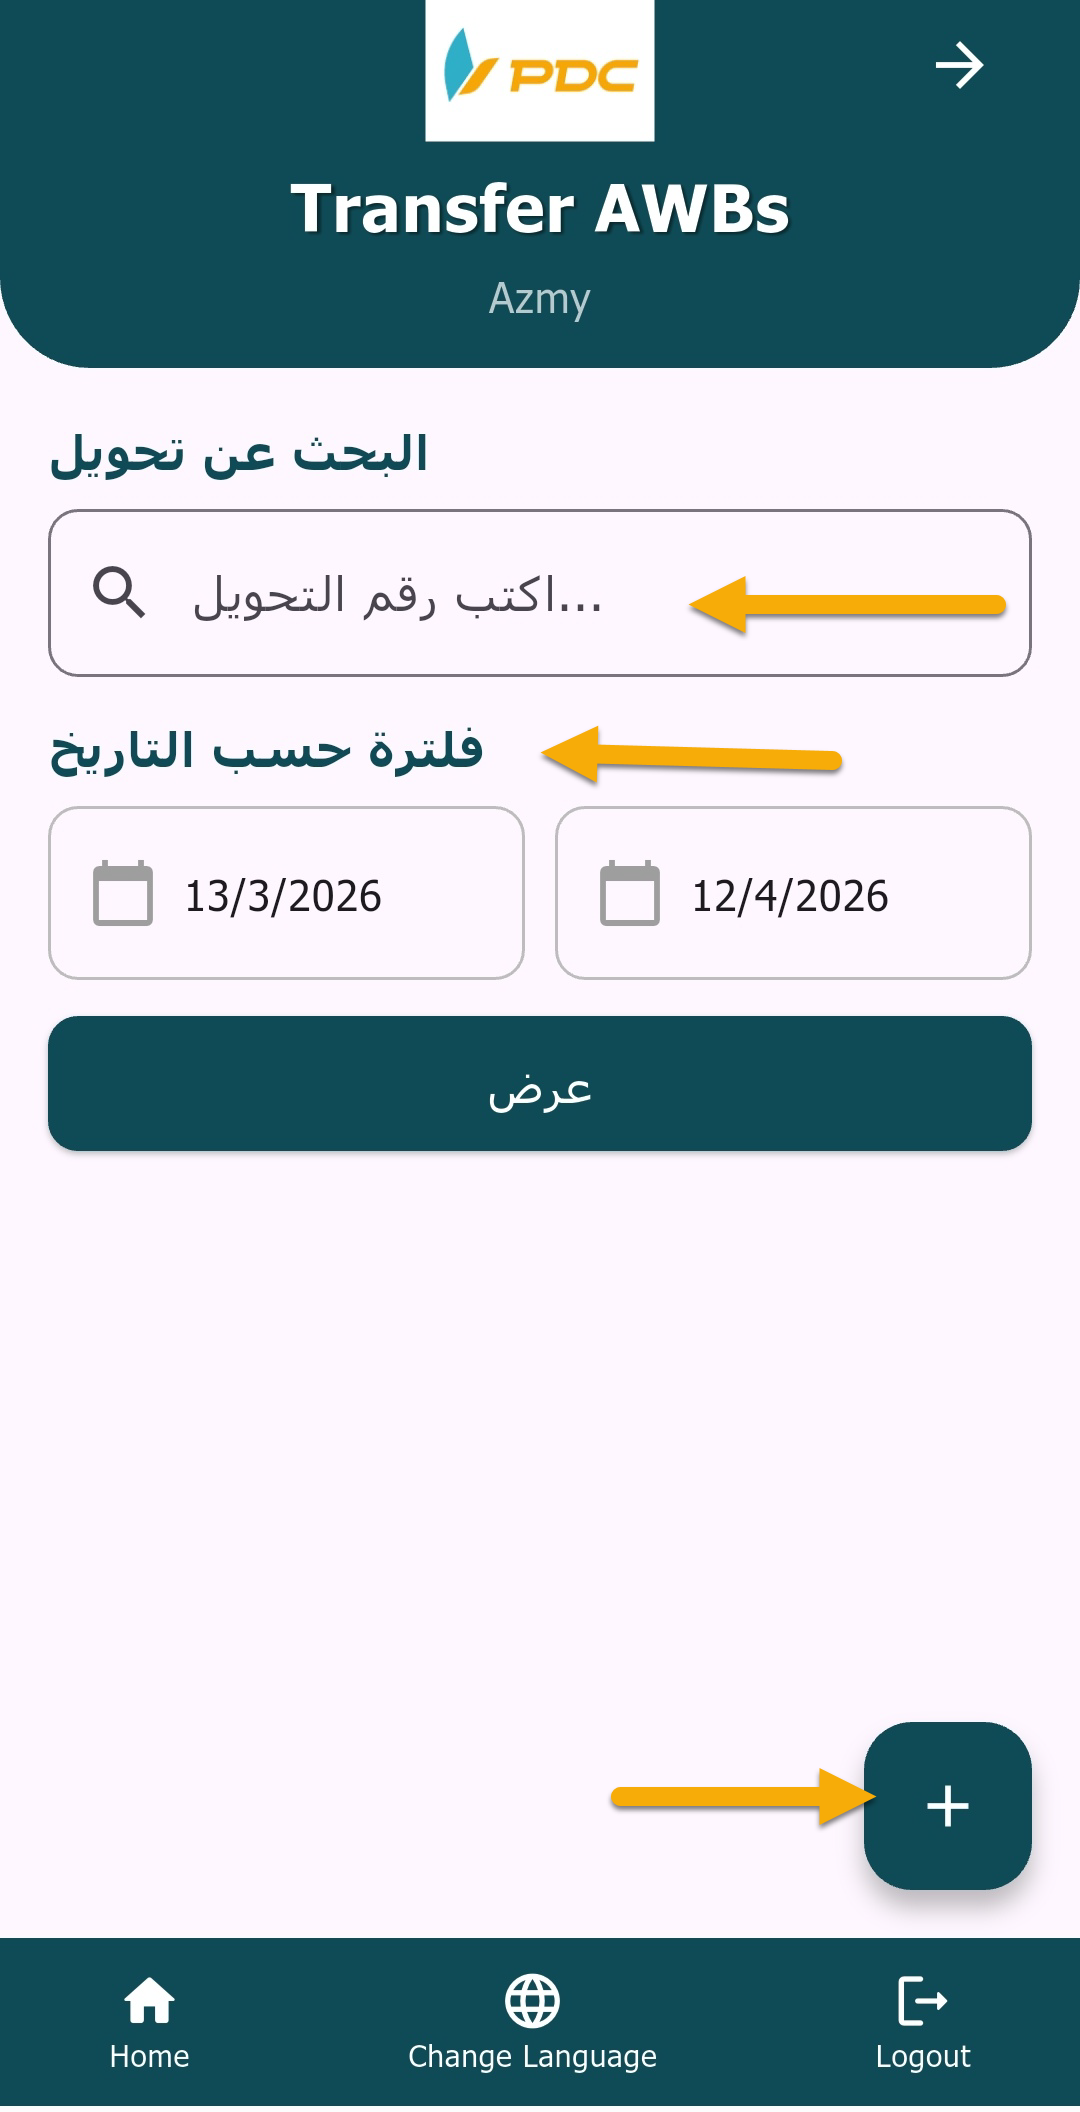
View & Search Operations:
When opening the screen, a search box appears to help you find shipment transfer operations by:
- Transfer Operation Number
- Or by selecting a date range (From – To) to filter operations within a specific period
You can also create a new operation by clicking the Add (+) button at the bottom of the screen.
Steps:
-
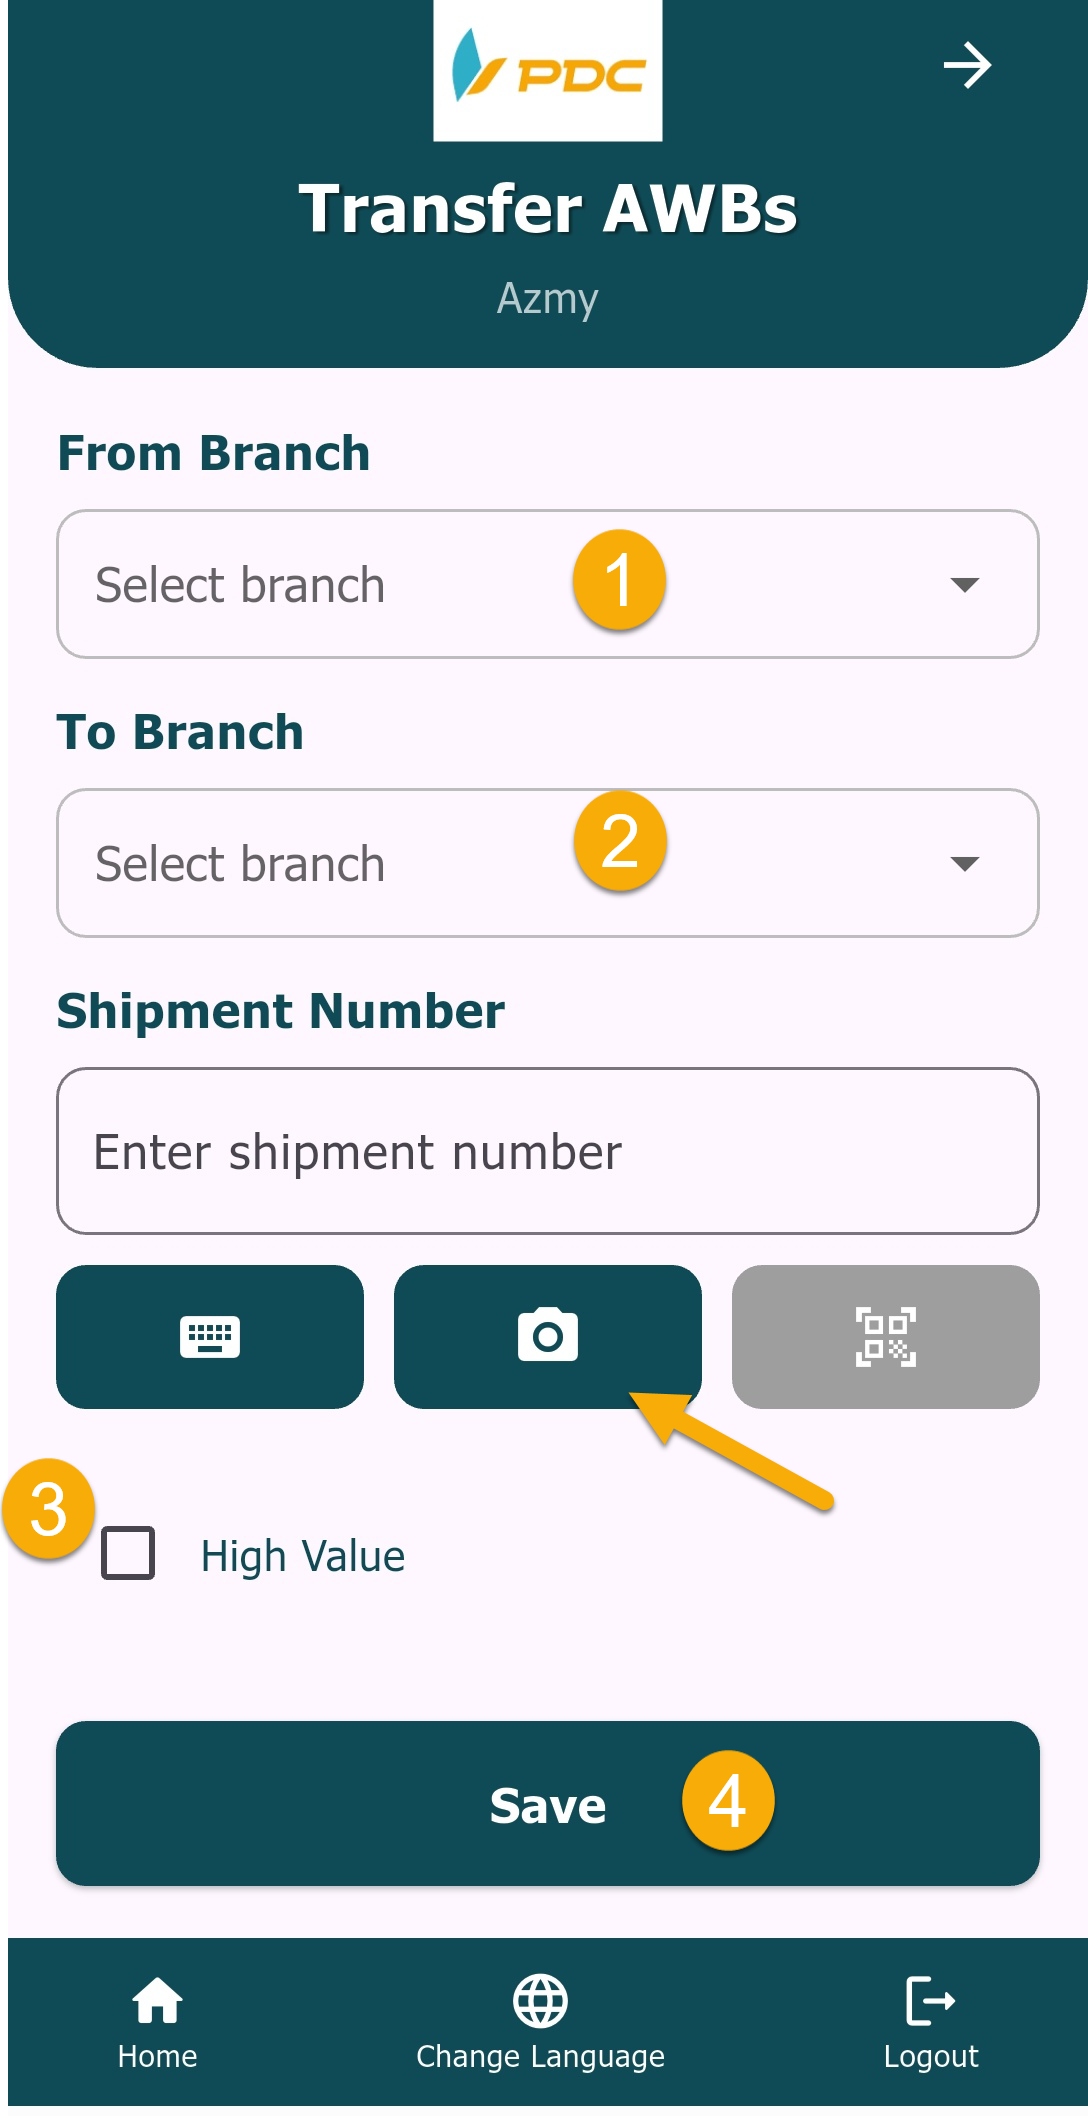
Select:
- From Branch
- To Branch
- Seal Number
-
Enter the shipment numbers to be sent.
⚠️ Note: If the shipment is marked as High Value, you must enable the High Value Shipments option. Otherwise, the shipment will not appear, and an error message will indicate that it is a high-value shipment.
-
Click Save.
-
Confirm the operation by approving the Posting.
Note
- Use the Camera button to scan QR / Barcode.
- Press the green button to confirm the scan.
- Use the Keyboard button for manual input.
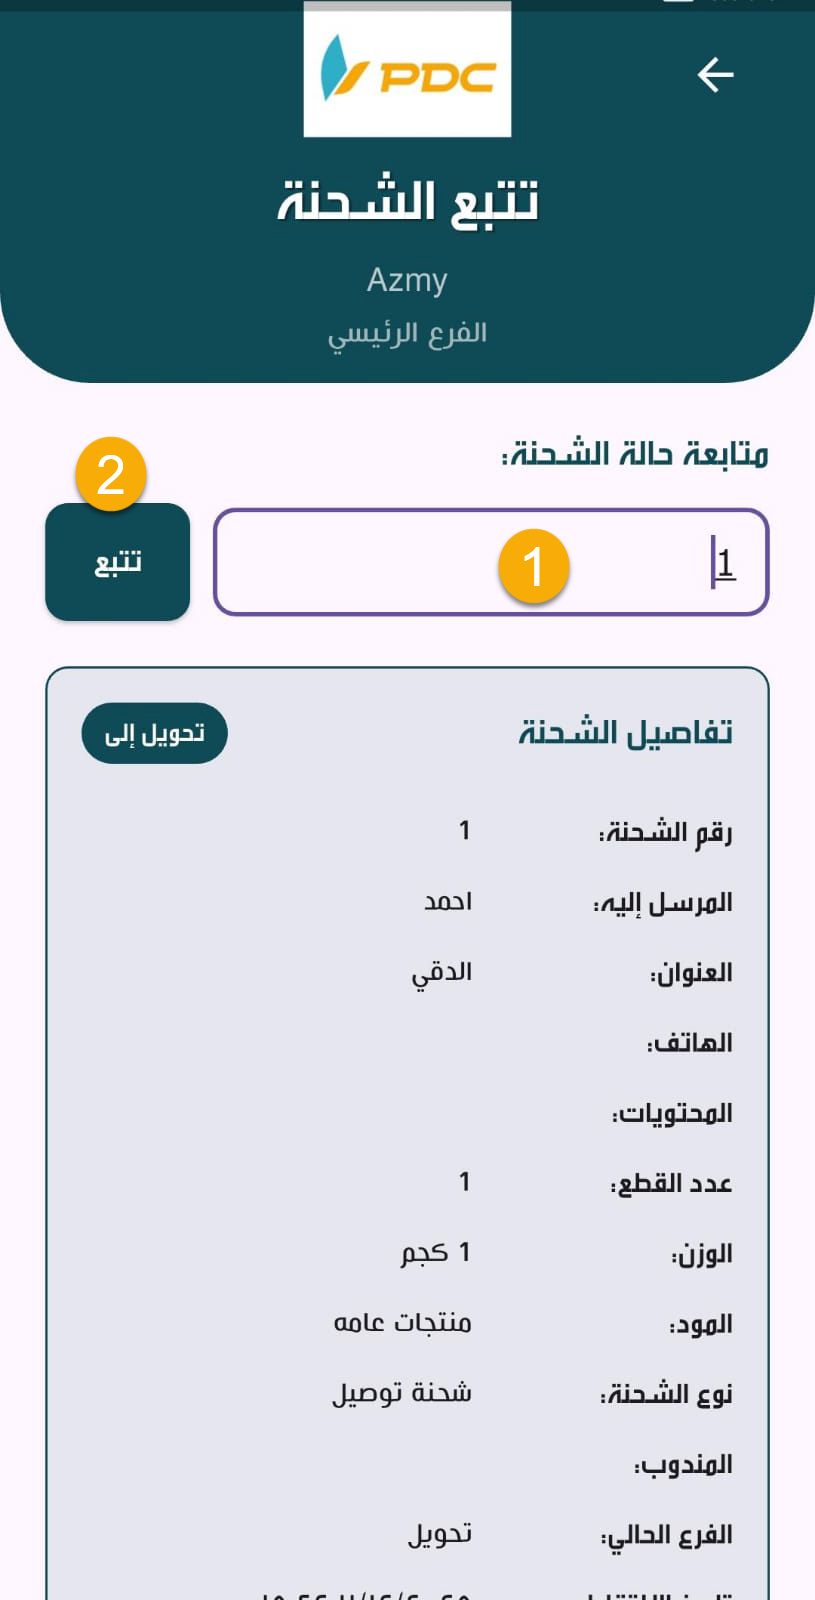
Once completed, the shipment transfer process is officially recorded in the system.
2️⃣ Receive Shipments from Branches
The Receive Shipments from Branches screen displays shipment transfer operations sent from other branches.
Steps:
-
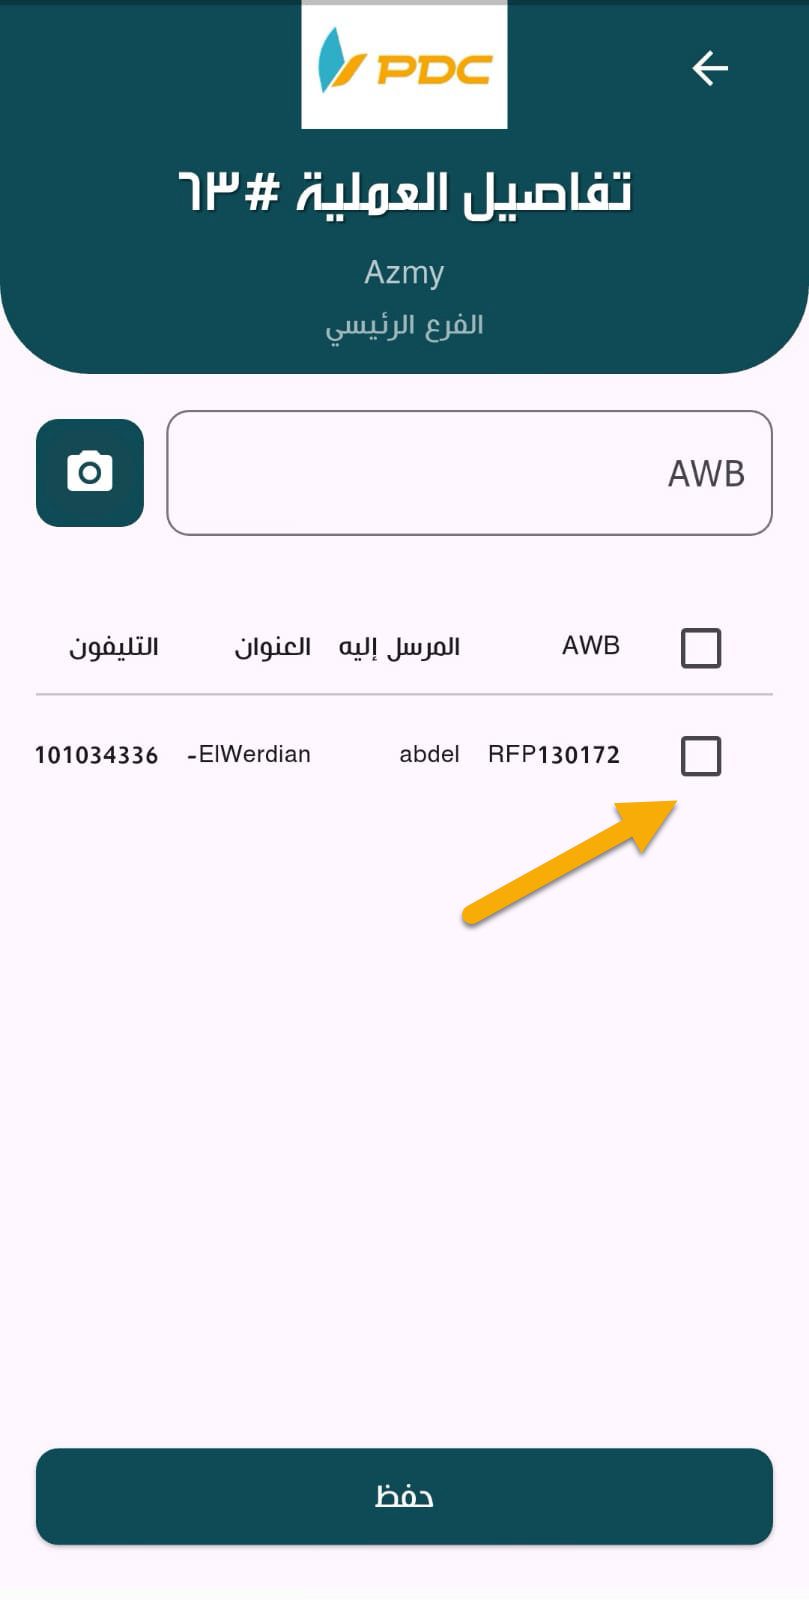
In the Actions column, click the arrow button to open the specific transfer operation.
-
Review the shipment details.
-
Click on Shipments to proceed with receiving them.
-
Click Save to confirm the receiving process.
This completes the shipment receiving process from the sending branch.